
A top; I made it! May I present my first wearable top since my Belcarra: Burda Young 7051. I actually made this way back in May to wear to my brother’s 21st, and never photographed it, but here it is now. I’ve actually worn it quite a few times – it can be quite dressy and pretty! I sort of wish I had photos of myself in it, because it looks a lot better on me than on the plastic dress form, but hopefully you get the idea.

I made this in a size 10, following my bust measurements, but I find it quite tight under the arms. I actually made a second one later on in the next size up, but there are different problems with that one. Post to come soon.
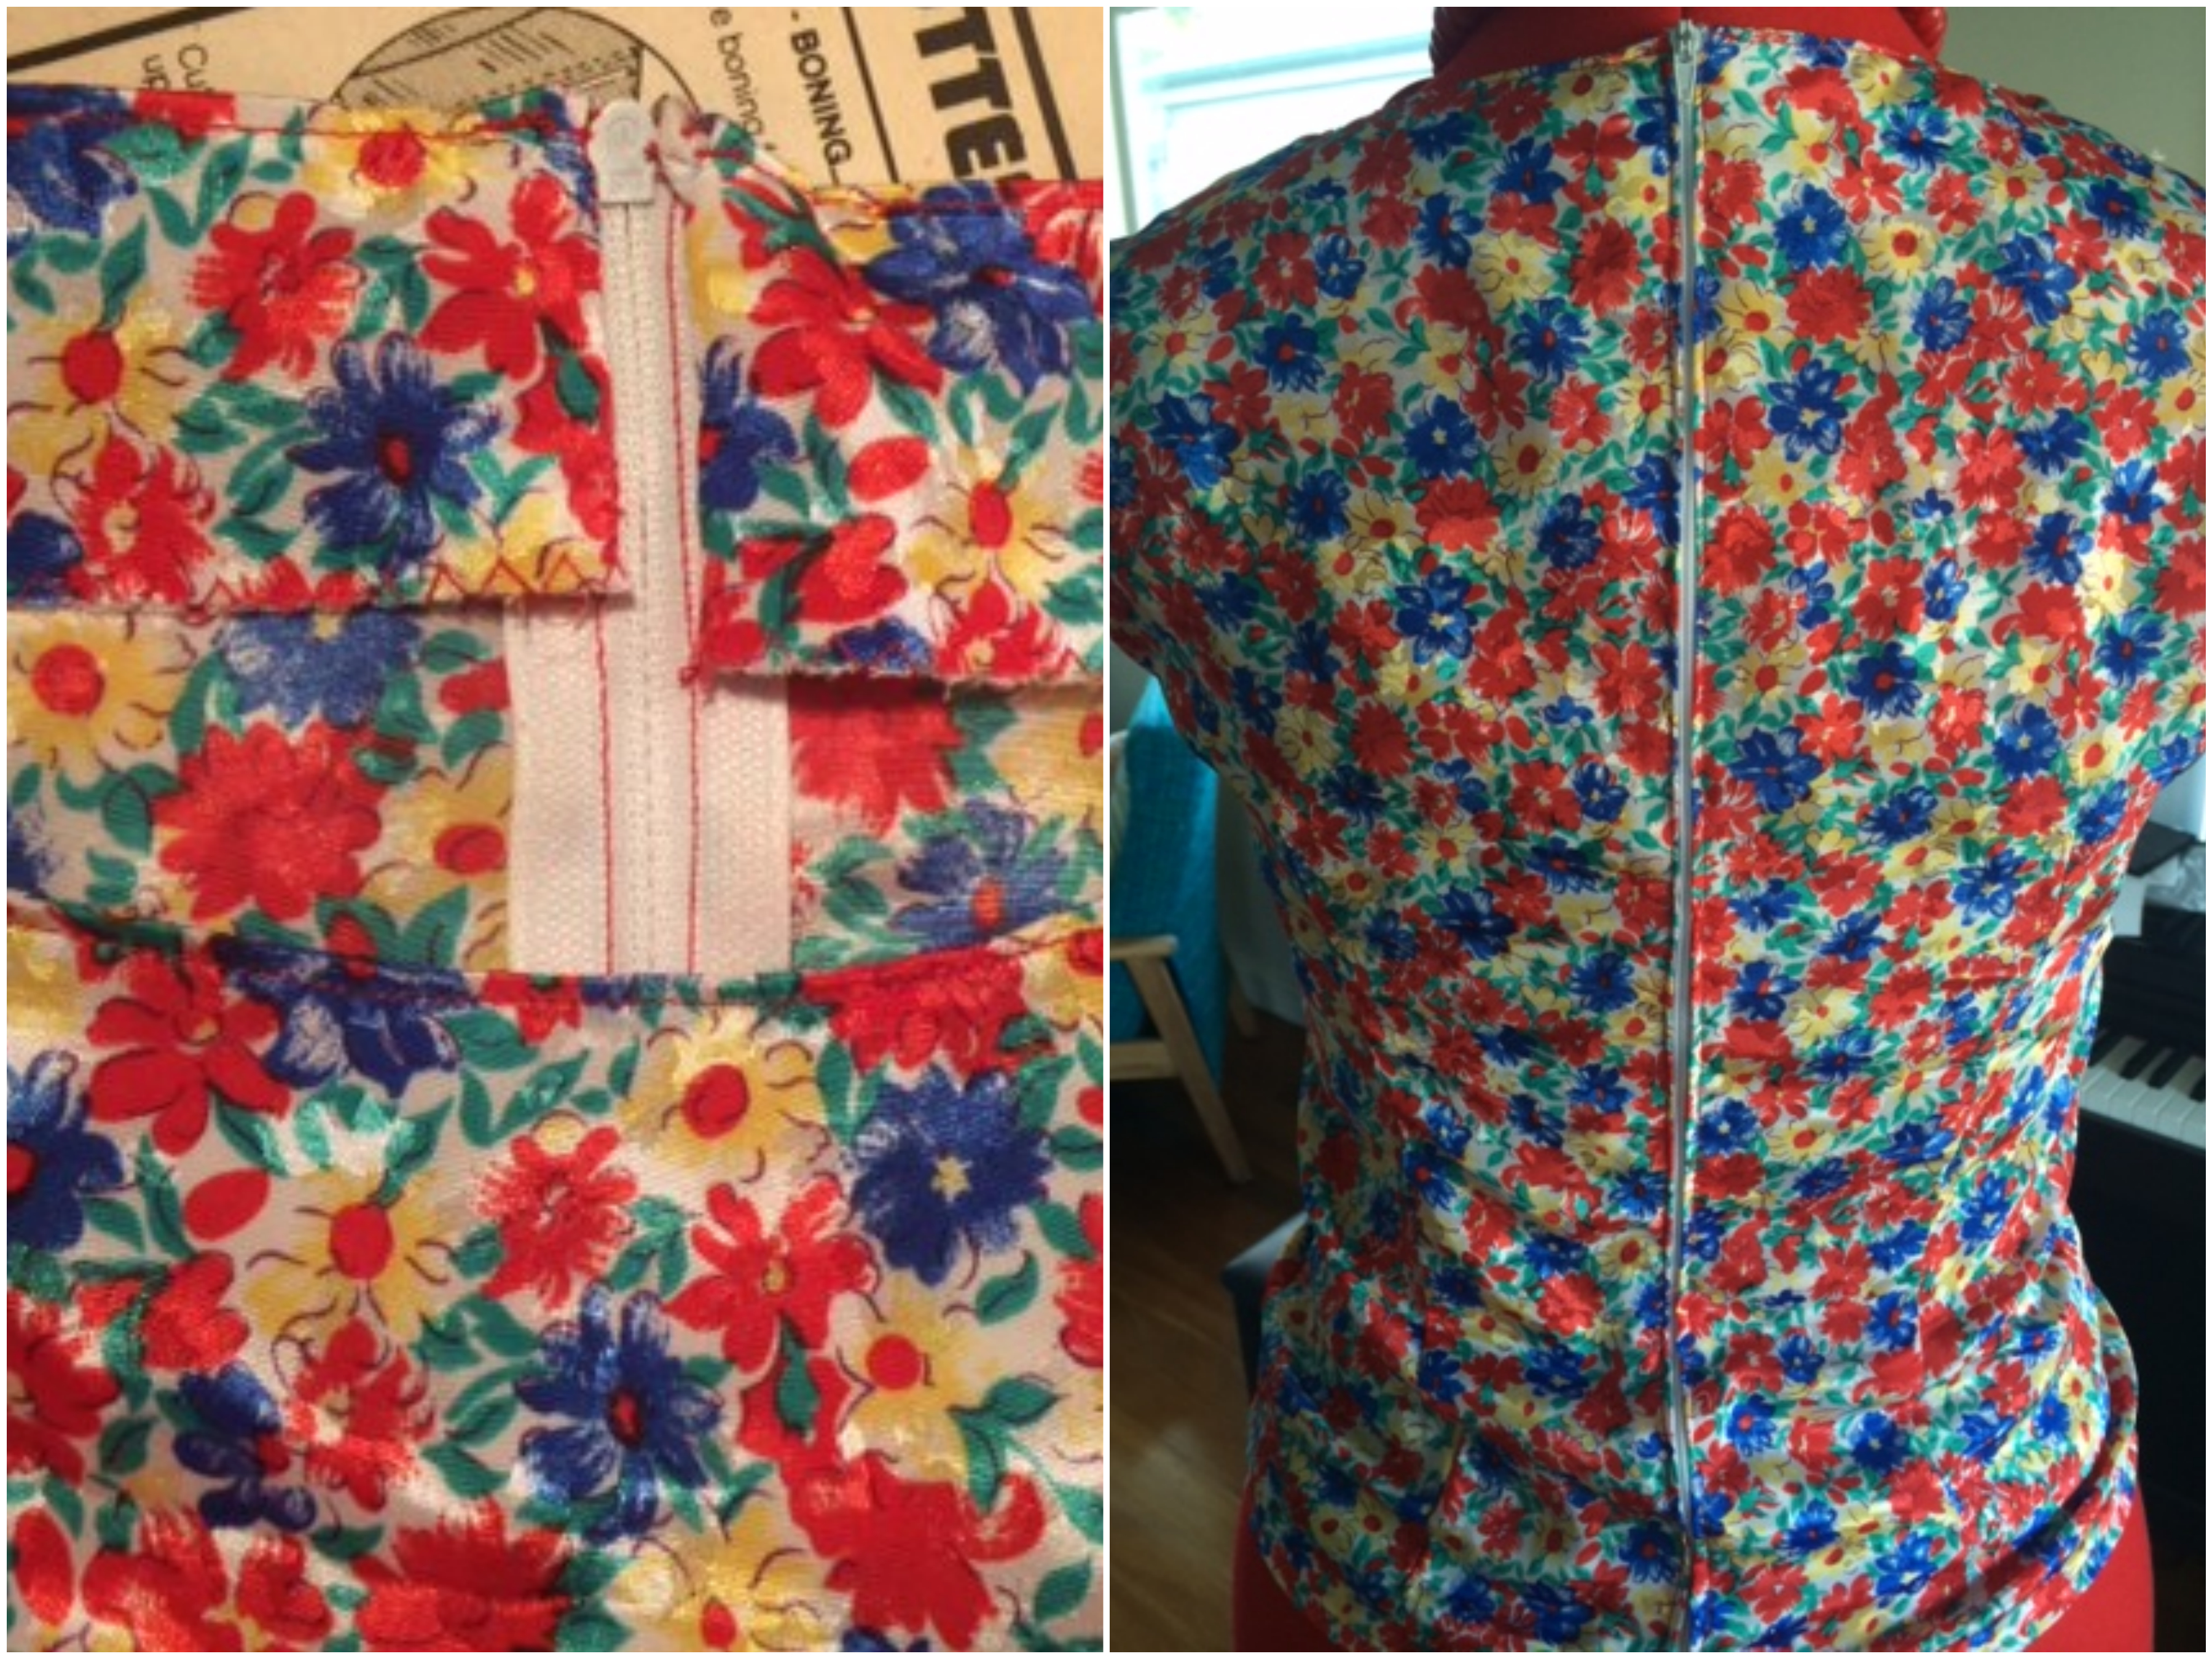
So the fabric I used for this top is a super slippery, shiny, polyestery type satin. Here’s a close up:

I just love the colours! And I’m a big florals person. I found this stuff in my mum’s stash from years and years ago, quite a lot of it, so I think I still might make a skirt or something with the leftovers. It was a real pain to work with, though. It slips all over the place, and the edges of it fray within five seconds of cutting. Because of this, I took special care in French seaming everywhere I could, and zigzag finishing all the raw edges. Oh, how I wish I had an overlocker… so until I have a spare couple of thousand dollars, zigzagging will have to do.

Also, this top has a zip! This was the first zippered piece of clothing I had made since my Year 9 Home Ec days, and that skirt is long gone… so I was pretty excited to produce a wearable item with a zip again! It’s a bit wonky, but hey, like I said, it was super slippery material. I think I did alright!
So there we have it. Burda 7051, View A. It was tricky because of the fabric choice, but pretty fun to make. The pattern has perfectly clear instructions and everything. Best of all, I do wear it! I’ve dressed it up with a black skirt and tights and a fancy necklace, and dressed it down with jeans and flats. Because it such a fitted pattern, it does look quite flattering when it’s on. I just love that feeling of being complimented on your clothes, particularly when you’ve made them yourself! 🙂
That’s all for now. Another post coming soon with a second attempt at this pattern. Peace out!
EDIT: I recently had an awesome photoshoot with a friend of my husband-to-be, and she kindly took and edited a whole heap of photos of my latest creations! So now I do have a couple of photos of me in this top, so you can see what it really looks like 🙂 Thanks, Pam!


I LOVE THIS!
:D!
I love the fabric. I’m trying to build myself up to seeing with slippery fabrics, too scared at the moment!
Thanks, isn’t it pretty! Yeah, slippery fabrics suck, but worth it at the end 🙂 Thanks for your comment!
Hi Katy, I’m making this top now and it’s shaping up pretty good so far… I had nightmares trying to work out my size – apparently Burda build a lot of ease into the pattern. I was also worried about the arm holes but didn’t want to go a size up because I definitely want it to be fitted. Anyway, I’m up to the part where it says to trim the arm hole edges seam allowance to 1cm before sewing the bias on…there is 3cm seam allowance on the arm holes in the pattern piece. I can’t for the life of me figure out why they would build in 3cm then tell the seamstress to cut it down to 1cm but maybe that’s why the arm holes are a bit tight? Well here goes!
PS – I forgot to say I love your version! It looks great!